Show:
How to Add a Business Card to Your Apple Wallet?
October 20, 2023
 Business
Need to share details with a potential client on the go? Or with a new connection you made at the coworking cafe downtown? Then, keep your Apple Wallet business card handy.
If you didn’t know already, Apple lets you store and save your digital business cards as a Wallet Pass. So, when you need to exchange contacts, you can just whip out your phone and let the other party scan the code for quick access. It is a quick and impressive way of sharing contact information with professional connections, both online and offline.

You can also access the Apple Wallet digital cards with any Apple device, and it comes with the Apple Pay app. This includes the iPhone, Apple Watch, and Macbook.
So, if you’ve been wondering how to add a business card to Apple Wallet, read on.
Things to Consider When Adding a Digital Business Card to Your Apple Wallet
While adding a business card to Apple Wallet is fairly easy, the process will differ from device to device and from one digital card solution provider to the other.
Before diving straight into the process, therefore, make sure to consider the following things first:
- Type of operating system: The Apple Wallet business card feature is only available on iPhones running on iOS 11 or later versions of the operating system. This means the feature is only available on the iPhone X and later series additions.
- Card ownership: It’s not mandatory for the card owner to generate the digital business card by themselves. You can also ask someone else to do it on your behalf. The process will mostly remain the same, but you will need to take some extra steps.
- Availability of analytics: Having the ability to quickly store and share your card via Apple Wallet is great. But can you track and analyze who’s actually scanning and saving your information? That’s a feature you shouldn’t pass on. When finalizing a digital card solution, make sure they offer analytics as one of the features.
How to Create a Digital Business Card for Apple Wallet?
You don’t have to go out of your way to create a digital business card specifically for your Apple Wallet. Any electronic business card will work just as fine.
But if you don’t have one to begin with, here’s how you can generate it using a digital card solution. To demonstrate, we’re using Uniqode’s digital business card generator. Follow along!
Step 1: Sign up for a Beaconstac account to get started and head straight to the dashboard.
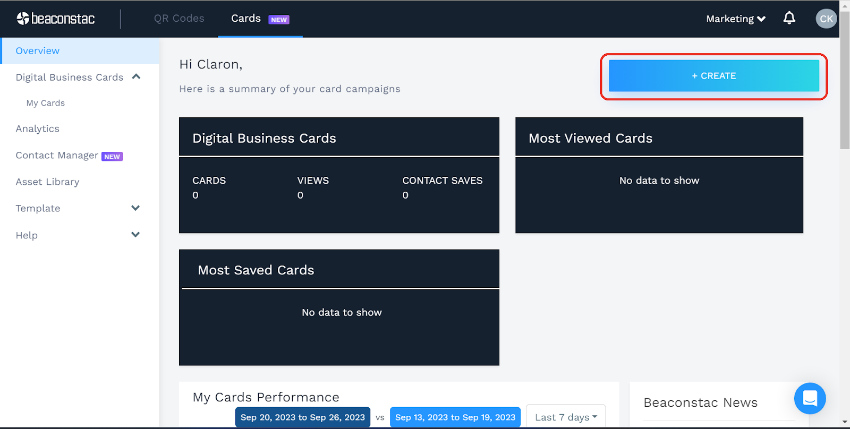
Step 2: Click on the “+Create” option first, then select ‘Digital Business Card ’. You will have a choice of templates to choose from.
Step 3: Pick a preferred card layout from the available options.
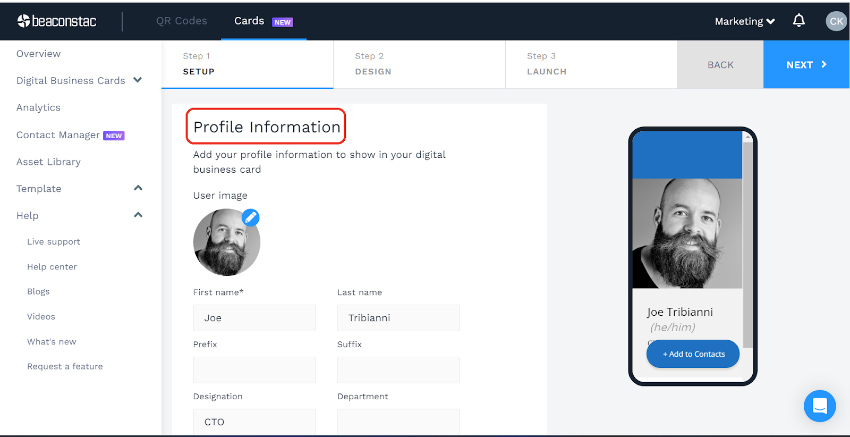
Step 4: Fill out details in the ‘Profile Information’ section, like email, phone number, website links, social handles, and more, to be displayed on the card.
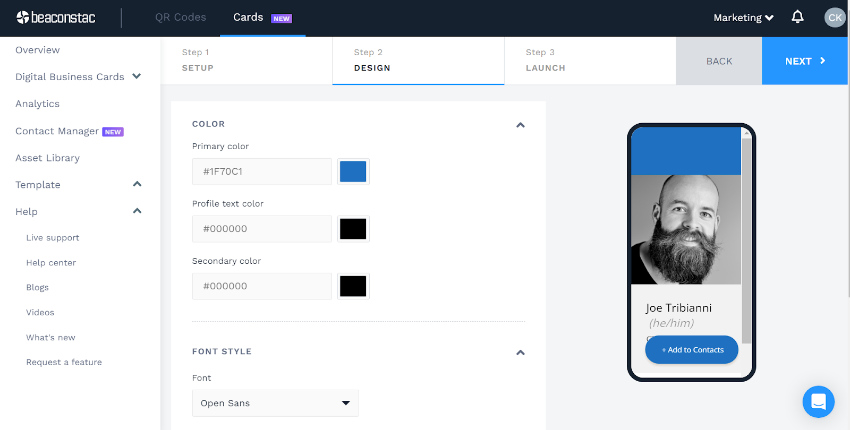
Step 5: Go to the ‘DESIGN’ tab to customize your digital business card as required. Choose from a variety of fonts and colors to suit your taste.
Pro Tip: It’s best to keep the design of your digital business card the same as your business branding. Go for the same font styles and color palette. This will make you look professional and leave a good first impression.
Step 6: At last, move to the ‘LAUNCH’ tab. Enable the networking features you want, like a custom domain URL or location tracking for business card scanners.

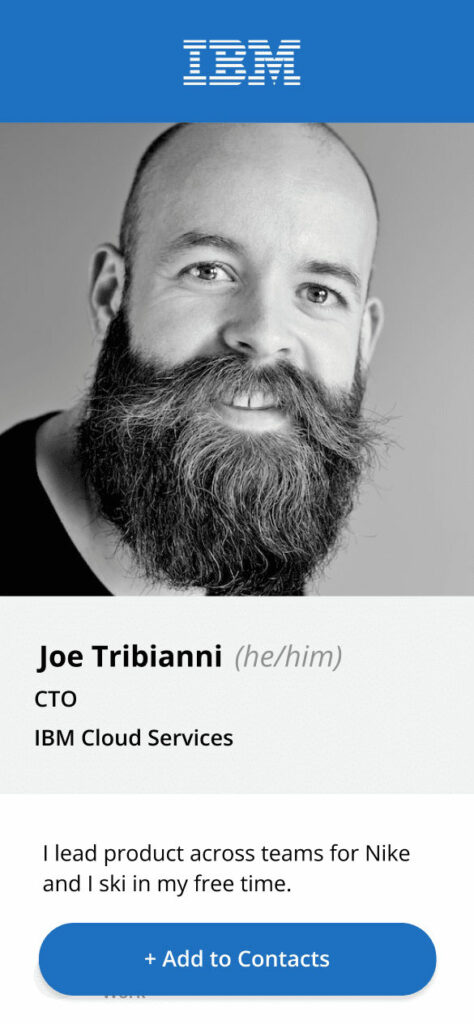
Step 7: Click ‘FINISH’ to complete the process, and you’re done. This is how your digital business card will appear when someone scans the QR code.
How to Add a Digital Business Card to Your Apple Wallet?
Once your digital business card is ready, you can generate a pass and save the card directly to your Apple Wallet.
We will use Beaconstac’s digital business card solution itself to add a business card to Apple Wallet. It only takes two steps and less than five minutes to set up your Apple Wallet business card. Here is the step-by-step process to get started.
Step 1: Start by Generating the ‘Apple Wallet Pass’ for Your Digital Business Card
If you use Beaconstac to generate your electronic business card, you’ll find the ‘Apple Wallet Pass’ option on the last tab (a truly unique feature, something we haven’t spotted in most business card solutions).
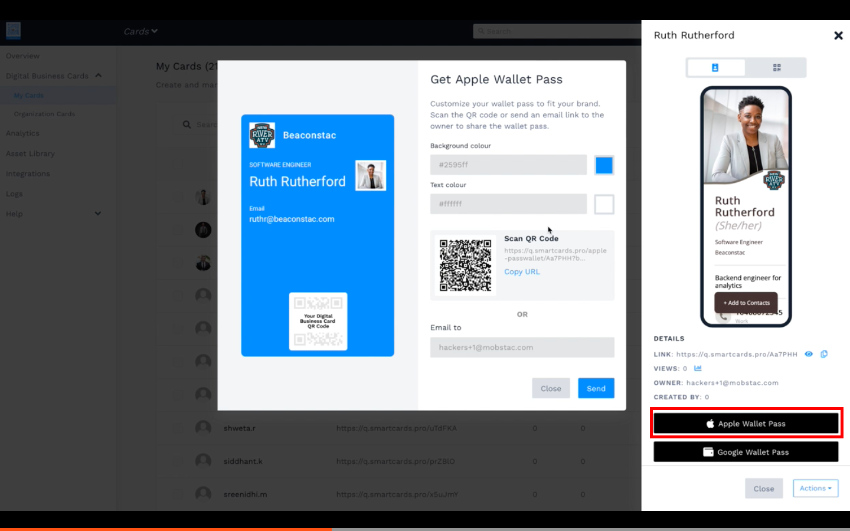
Alternatively, you can click on the ‘Integrations’ option in the left panel (as shown in the picture above) to generate the pass.
Step 2: Add the Digital Business Card to Your Apple Wallet
Once you’ve generated the Apple Wallet Pass, you can proceed with the next steps based on the conditions below.
- Scenario #1 If you’re the business card owner: In this case, simply scan the QR code pass with your iPhone. Upon scanning, the digital business card will be automatically loaded into your Apple Wallet. Click the save button to start using it.

- Scenario #2 If you’re not the business card owner: If you’re creating the Apple Wallet business card on someone’s behalf, then you can copy and share the Apple Wallet pass URL to the card owner or email it to them. The recipient just needs to click on the URL and the card will be loaded to their Apple Wallet within seconds. Then, they can save the card securely.
Just as shown in the picture below!
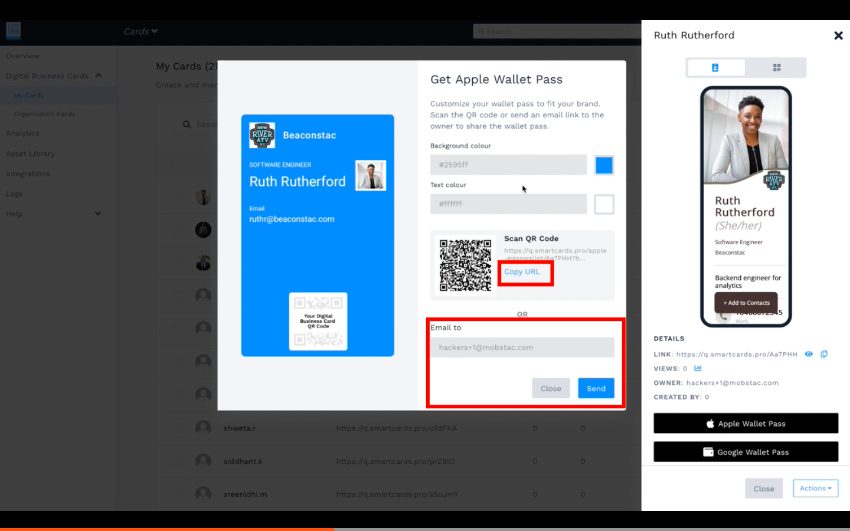
Those are all the steps you need to take. You are now ready to access and share the Apple Wallet business card as and when needed.
Conclusion
Creating and sharing your very own Apple Wallet business card is simple and straightforward.
Now, you can connect with potential customers or network at professional events with a single scan. Just open your Apple Wallet to share your digital business card and let the other party scan the custom QR code pass to save your contact information in a few seconds.
And the best part? Anyone can scan the Apple Wallet business card with any mobile device. It will work even if the other party doesn’t use an iPhone. Apple Wallet business cards are paperless, impressively convenient, and a modern way of doing business.
 Return to Previous Page