Show:
3 Feasible Ways to Recover M1 Mac Data
May 31, 2022
 Programming
The Mac m1 chip in Apple silicon models resulted in even better performance and efficiency when compared to the Intel chips used in Mac since 2006. However, data recovery has become a problem for the majority of its users since its architecture (being entirely different from the Intel chips) does not allow regular data recovery methods and software. So, how can you recover your valuable m1 files from an Apple Silicon model? This can be done with ease by using the Tenorshare 4DDiG data recovery software, even when the m1 Mac won’t boot. The Tenorshare 4DDiG program is capable of recovering files that have been corrupted, lost to viruses, or accidentally deleted. It also provides robust data protection measures to its users.

Part 1: Why it is Difficult to Recover M1 Chip Mac Data?
With the new M1 chip data recovery has never been a piece of cake, which is a result of its top-notch security levels and advanced data encryption. Looking at it from a security perspective, this could be a good thing but comes at the expense of making data recovery difficult, especially for non-tech-savvy individuals.
Part 2: Feasible Ways to Recover Data from M1 Mac
We all know data recovery from an M1 Mac is difficult, but we also know it is not impossible and does not require you to become tech-savvy to know the process. Below are three ways you can successfully retrieve data in an M1 Mac recovery attempt.
Fix 1: Use Tenorshare 4DDiG to Recover M1 Mac Files in 3 Steps
Utilizing a third-party data recovery software such as the Tenorshare 4DDiG is highly recommended as it is one of the best data recovery software for M1 Mac out there. There exist other data recovery software in the market but few all of them are compatible with the M1 Mac like the 4DDiG.
Below are the features of the Tenorshare 4DDiG data recovery software and the reasons why you should use it to restore M1 Mac files.
- Data recovery is possible even from an unbooted Mac
- Recovering files from M1 and T2 secured files is a piece of cake
- It features a 3-step process to easily restore data
- It supports file formats such as pictures, documents, photos, and videos, and the recovery of more than 1000 files
- It supports data recovery from a variety of devices, including SD cards, HDD, USB flash drives, etc
- It is an effortlessly fast, and quick way of recovering data
- It is also 100 percent safe.
How to restore Mac M1 data using the Tenorshare 4DDiG software:
Case 1: Recovering Data from M1 Mac Hard Drive/SD Card/USB
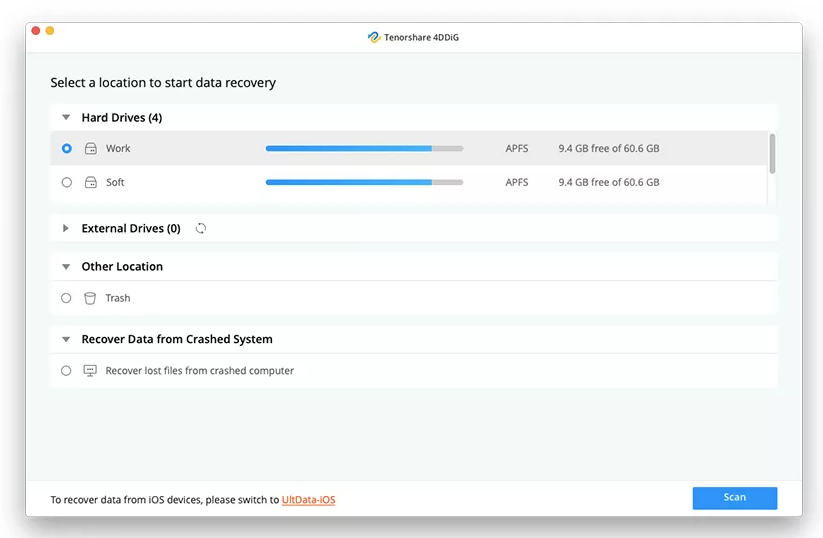
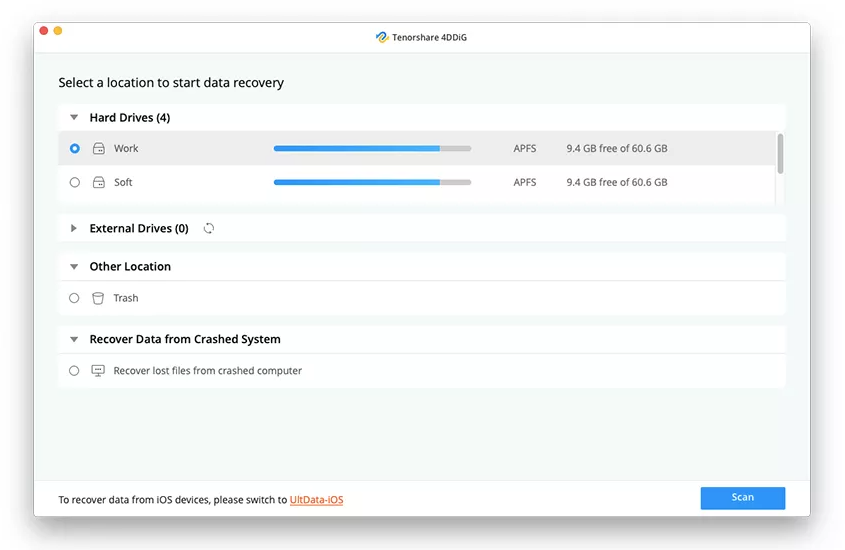
- Launch the 4DDiG software, chose your desired location to start the M1 Mac recovery process, and then click the “scan” button.
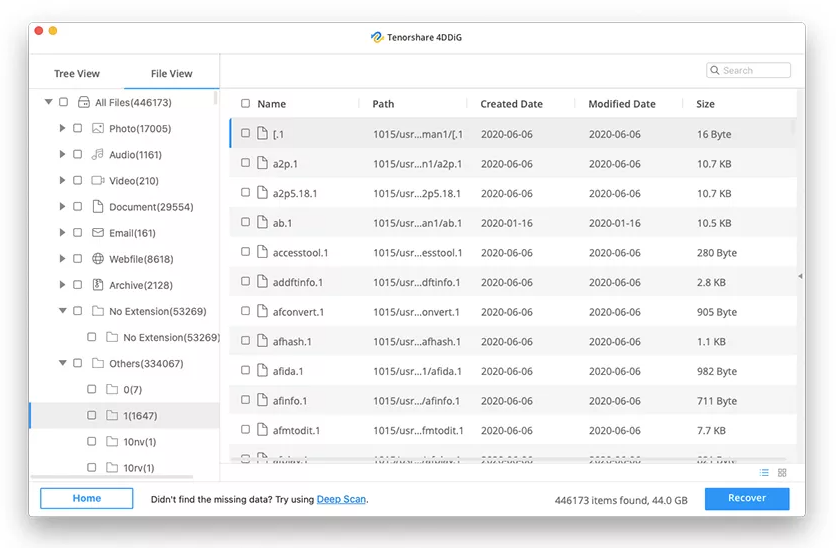
- Once the scanning result is displayed, preview the scanned files by going through the specific file types for more info.
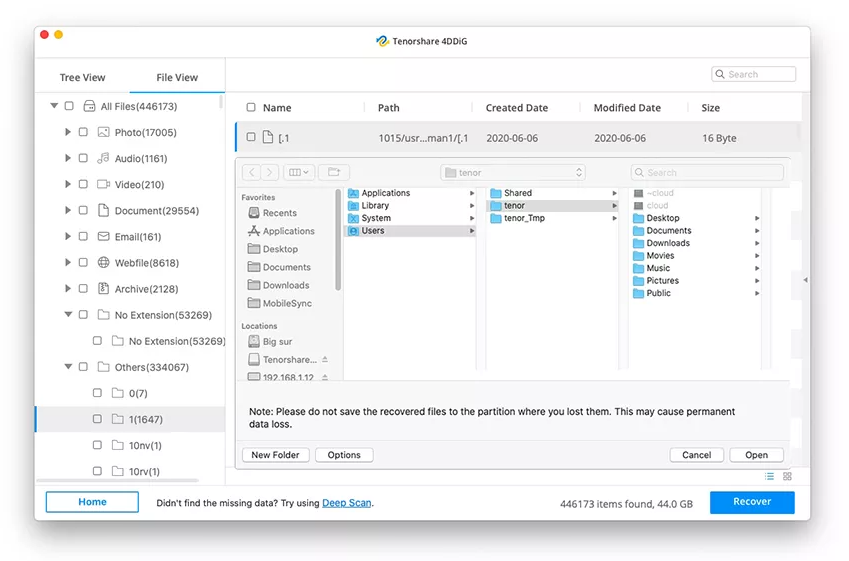
- Click on “recover” after going through the desired files. Do not forget to select the data storage location before proceeding.
Case 2: Recovering Data from Unbootable M1 Chip Mac
- It will require a working Mac and an external hard drive or USB to recover data from an unbootable M1 chip Mac. Boot your crashed Mac with the above-mentioned for M1 recovery by first selecting “recover from crashed system” and then “scan”.
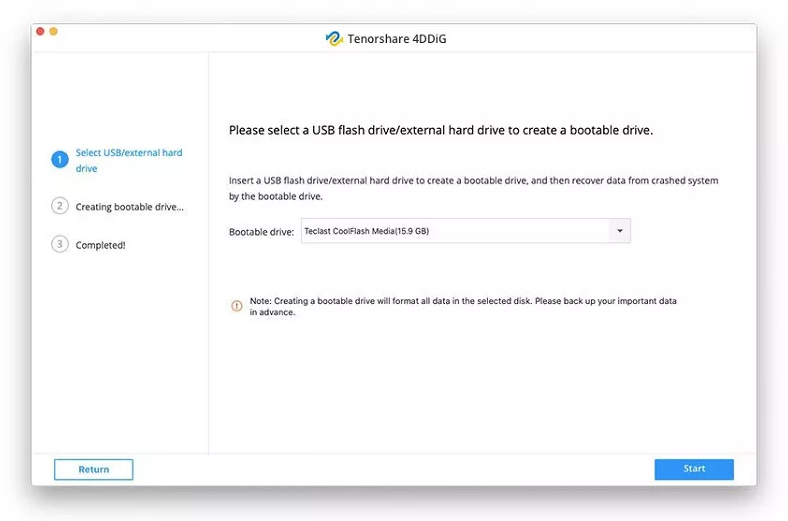
- Connect your external hard drive or USB to the bootable M1 Mac, navigate to the “bootable drive” option, and click on “start” after selecting the bootable drive to create another. Expect a pop-up window reminding you to back up your data
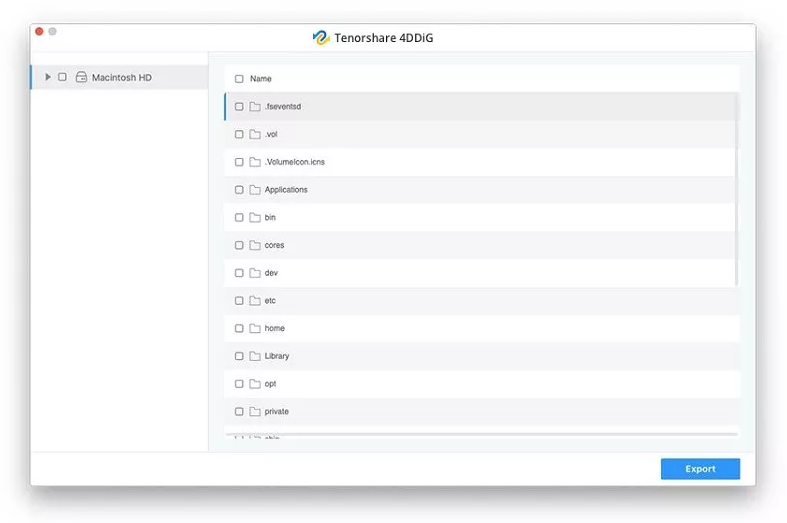
- After a bootable drive is created, connect it to the unbootable M1 Mac. On the Tenorshare 4DDiG interface you will see a list of all your files, select the desired ones for recovery and then click “export”. Your bootable drive is where you can recover your desired data.
Fix 2: Use Share Disk Utility to Recover M1 Lost Files
Data recovery with the Share Disk utility is an alternative method to restore M1 Mac data instead of utilizing the Tenorshare 4DDiG software. The Share Disk Utility is used to move files from one Mac device to another as it allows access to the M1 data of a Mac device from another Mac device. Below are the necessary steps you can follow to restore MacBook m1 data using Share Disk Utility.
- With the help of a thunderbolt cable, connect your M1 Mac to another Mac
- Turn off your crashed M1 Mac
- Press and hold the power button until you see the options gear icon and startup options
- Select the “continue to enter into macOS recovery mode” options, and then enter your password if required.
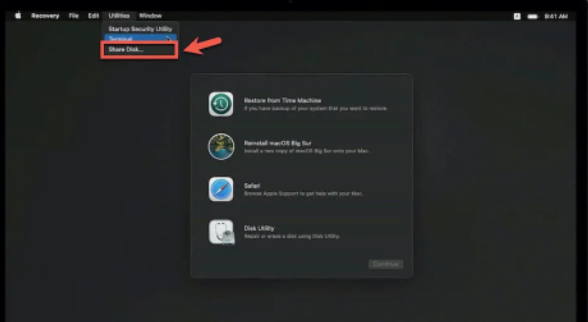
- Select “share disk” after clicking on “utilities”.
- Chose the startup disk of the M1 MacBook and click on “start sharing”.
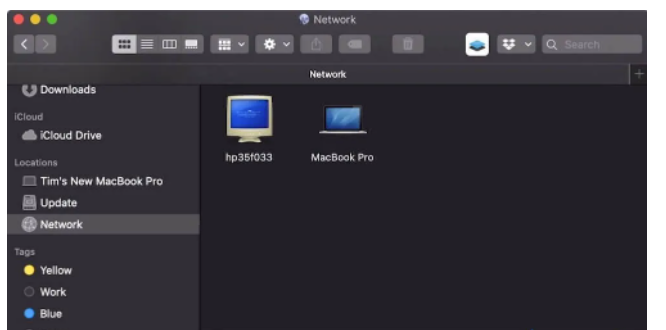
Step seven: on the Mac that’s connected to the M1 Mac, navigate to finder and then click on “network” in the location tab.
- Double click on the detected M1 Mac and then connect as a guest. From here you can copy your available files to the properly functioning Mac for recovery.
Note: you can always go back to using the Tenorshare 4DDiG software if you can’t access your files as a result of a broken startup drive.
Fix 3: Recover M1 Mac Data from Time Machine Backups
Using a time machine for data recovery in Mac is quite easy, however, the recovery process will be a bit different with M1 Mac, and this is because an M1 Mac user will have to initiate a recovery mode. Below are steps to follow to successfully restore M1 Mac data using time machine backups.
- Completely shut down your Mac.
- Insert your USB drive into the time machine backup.
- Press and hold the power button until you see the “loading startup options”.
Step four: proceed by clicking on “options” and then continue to get a list of four options. Select the first option which is “restore from time machine”.

The Things You Should Know After Losing Data
- Be on the lookout for free recovery software. Free data recovery software in distribution is one of the easiest ways to spread viruses.
- Before using a data recovery software, endeavor not to add new data to the external hard drive to which you intend on extracting your files. Doing this may result in overwriting the data you intend to recover.
- There is no guarantee of totally recovering 100% of your files when using a data recovery software. Factors such as encryption, file corruption, and secure erasure could prevent absolute data recovery by software.
- When initiating advance recovery, you may recover files with different names and formats.
- Always backup data in advance. The time machine is a perfect backup solution available to Mac users. Backing up your valuable data in advance will ensure the recovery process is easy and quick.
- Avoid defragmenting before recovery. Defragmentation makes data recovery almost impossible because files are relocated to smaller contiguous regions during defragmentation, overwriting the very same files you intend to recover.
- Always use the best data recovery software to restore MacBook M1 data.
Conclusion
Data loss is a very common experience among Mac users despite being the most reliable computers in the world. However, recovering these valuable files is possible through utilizing data recovery software such as Tenorshare 4DDiG and implementing the other above-listed fixes.
 Return to Previous Page