Show:
How to Produce an Explainer Video: A Beginner-Friendly Guide
September 14, 2023
 Marketing
Explainer videos have become a powerful tool in modern marketing and communication. These videos simplify difficult concepts, captivate your audience, and enhance your brand’s visibility. If you’re new to the world of video production, fear not! In this beginner-friendly guide, we’ll walk you through the step-by-step process of creating your first explainer video.

Let’s learn more!
Understanding Explainer Videos
Let’s start with the basics. Many video production companies, such as Kasra Design, offer explainer video production as a service. But what exactly are they? An explainer video is a short, engaging video that explains a concept, product, or service in a simple and captivating way.
These videos come in various forms, such as animated, whiteboard-style, or live-action. The beauty of explainer videos lies in their versatility – you can use them for marketing, education, training, or just about any purpose you can think of.
Creating a Video: The Pre-Production Phase
Before diving into video production, it’s essential to lay the groundwork:
- Set Clear Objectives and Goals: Determine your aim with your explainer video. Are you trying to promote a product, explain a process, or teach a concept?
- Identify Your Target Audience: Understand who your video is intended for. Tailoring your content to your audience’s needs and interests is critical to success.
- Craft a Compelling Script: Your script is the backbone of your explainer video. Keep it concise, engaging, and focused on your message. Use storytelling techniques to keep your audience hooked.
- Create a Storyboard: Visualize your video by sketching out scenes and planning transitions. This will be your roadmap during production.
Gathering Resources and Equipment
Now, let’s gather the tools you’ll need! Choose suitable video editing software that matches your needs and expertise. Also, select a skilled narrator or voice artist and gather visual assets like images or videos that complement your script. For live-action videos, you’ll require equipment like a camera, microphone, and lighting to ensure high-quality footage. In addition, for simplifying the production phase and adding impactful narrations without the hassle of hiring voice actors or expensive recording setups, consider utilizing advanced TTS technology that can generate realistic voice-overs in seconds. For live-action videos, you’ll require equipment like a camera, microphone, and lighting to ensure high-quality footage.
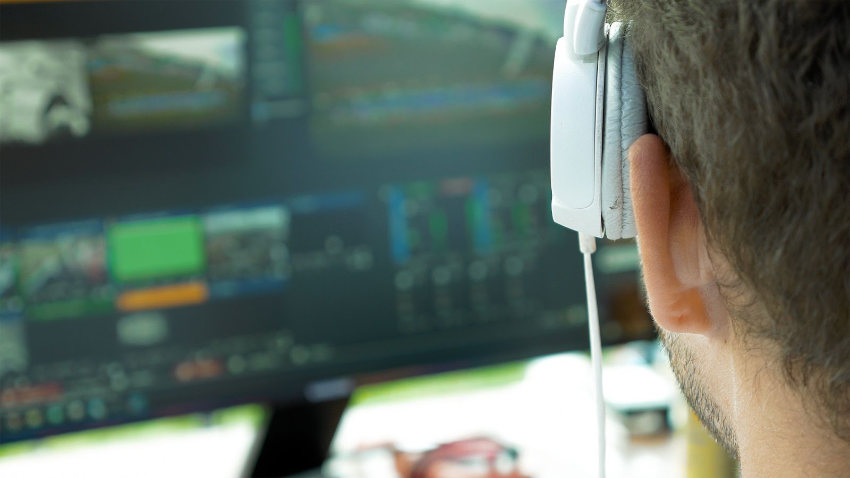
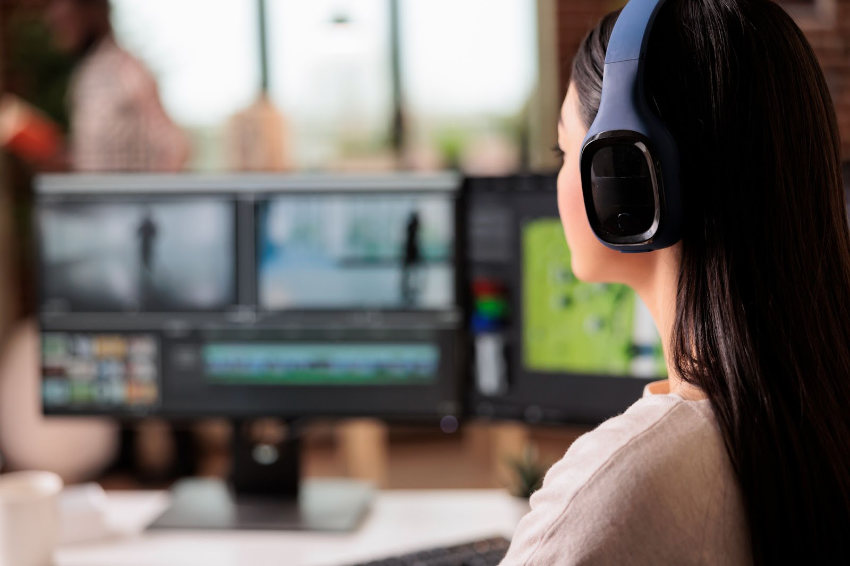
The Production Phase
The production phase requires patience, attention to detail, and creative flair. It’s the stage where your ideas come to life, and the video starts to take its final form. Take your time to ensure that every aspect of your video aligns with your script and storyboard for a seamless and engaging viewer experience.
Depending on the type of explainer video you’re creating, this phase can involve various tasks:
- Setting Up: Consider the environment if you’re working with live-action footage. Ensure that the location is well-lit and no distracting elements are in the background. Proper lighting and a clean, clutter-free setting make a significant difference in the overall quality of your video.
- Recording Voice-Overs: Ensuring precise and enthusiastic delivery is vital because the audio lays the groundwork for your video’s message, breathing life into your script.
- Creating Visual Elements: For animated or illustrated videos, this is where you breathe life into your visuals. Follow your storyboard closely to ensure that each element corresponds to your script.
- Synchronization: Whether you’re working with live-action or animation, ensuring that what’s being said matches what viewers see on the screen is vital. This synchronization creates a cohesive and engaging experience for your audience.
- Attention to Detail: Pay attention to the finer details during the production phase. Make sure that the framing and composition of your shots are visually appealing. If you’re using animations or illustrations, ensure that transitions between scenes are smooth and visually pleasing.
- Quality Assurance: As you work on your project, check it regularly during production to spot mistakes and inconsistencies early, saving time in post-production.
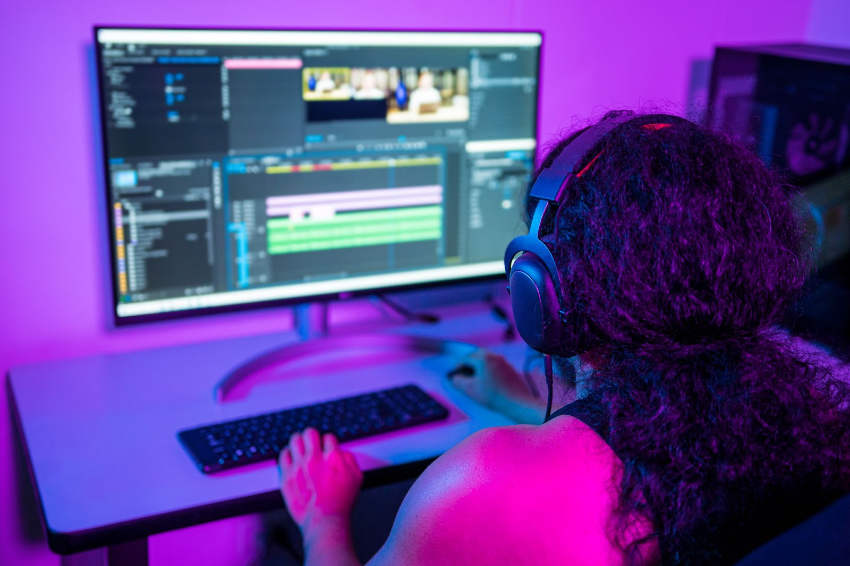
The Post-Production Phase
Think of the post-production phase as the final polish on a gemstone. It’s where your video becomes refined and compelling content ready to captivate your audience. Paying attention to detail during this phase ensures that your explainer video is informative, visually, and audibly appealing.
This stage involves several critical steps:
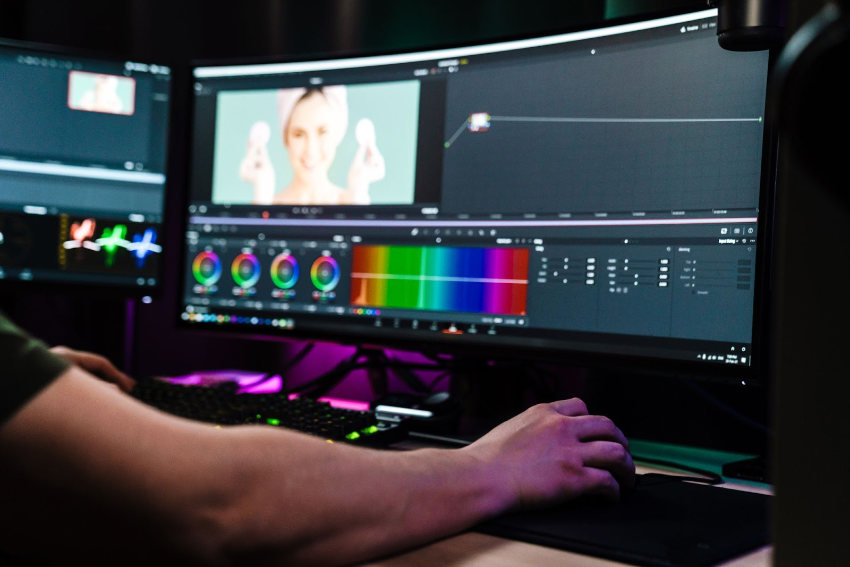
- Video Editing: Video editing software serves as your digital editing room. You’ll arrange your video clips, audio, and visual elements here to create a cohesive narrative. Trim unnecessary parts, add or adjust scenes, and ensure a smooth flow from start to finish.
- Enhancing Quality: Just like fine-tuning a photograph, you’ll make adjustments to improve the overall quality of your video. This includes color correction and grading, ensuring the colors are consistent and visually pleasing. You’ll also need to correct any imperfections or inconsistencies in the video.
- Audio Editing: Audio quality is as crucial as the visuals. In the post-production phase, you’ll improve audio clarity and consistency. This involves removing background noise, balancing audio levels, and ensuring the voice-over or narration is crisp and well-paced.
- Adding Captions and Subtitles: Accessibility is essential. Adding captions or subtitles to your video makes it inclusive for all viewers and enhances engagement. These text elements help convey your message to those who may be hearing impaired or watching your video in a noisy environment.
- Review and Feedback: Share your video with a small audience for feedback. This can be friends, colleagues, or test viewers. Listen to their input and make necessary revisions to improve the video’s quality and effectiveness. A fresh perspective can uncover issues you might have missed.
- Final Touches: Before you wrap up, ensure all elements are in place. Check that the video flows smoothly, transitions are seamless, and there are no remaining errors or glitches.
Finalizing and Exporting
We’re almost there! Once you’ve fine-tuned your explainer video in the post-production phase, it’s time to get it ready for the world to see. You’ll use your video editing software to export your finished product in the appropriate format and resolution. Different platforms may have specific requirements, so keep those in mind.
Consider tailoring your video for different platforms and audiences. What works on YouTube may need adjustments for your website or social media. This phase ensures your video is in its best form for the audience to enjoy. Like a chef putting the final touches on a gourmet meal, these steps ensure that your explainer video is well-presented and ready to be shared with the world.
Promotion and Distribution
To successfully promote your explainer video, start by optimizing it for search engines and sharing it on social media with engaging captions and hashtags. Consider running a paid campaign with the video to reach a broader audience.
Also, collaborate with influencers, integrate it into your email campaigns and website, and post it on video-sharing platforms like YouTube. Interact with your audience and track performance metrics to refine your strategy for broader reach and engagement continually.
Measuring Success
Keep an eye on metrics like views, engagement (likes, shares, comments), and conversion rates (if applicable). These numbers will tell you how well your video is doing. Also, read and analyze audience feedback and comments. They can provide valuable insights and ideas for future videos. You can use the data you gather to improve your next video. The more you create, the better you’ll get.
Wrapping Up
Congratulations! You’ve completed your explainer video journey. Remember, creating explainer videos may seem daunting at first, but you’ll become more skilled and efficient with practice. Explainer videos are a fantastic way to connect with your audience, convey your message, and achieve your goals.
In this beginner-friendly guide, we’ve covered the essential steps, from pre-production to distribution and measurement. Now, it’s your turn to take these concepts and create your compelling explainer video. Remember to stay creative, stay engaged with your audience, and, most importantly, have fun along the way.
Happy video-making!
 Return to Previous Page